Visibility
For Project Baseline you can do visibility measurements:
– Horizontal at various fixed Stations / Objects / Depths, but you always need to dive to do them.
– Vertical visibility measurements from the surface like limnologists do, can be a nice addition in case you can’t dive. I always do a vertical measurement as it provides the most consistent data.
You need:
– A Secchi disk or pocket size model.
– A (compact) tape measure or reel with a marked line.
You can use knots or use a waterproof marker pen to mark every (half) meter or foot.
One big disadvantage of knots, is you can’t use a knotted line for SMB deployment and I like to carry a minimum of equipment.
Of course you can carry a full size (20-30 cm diameter) Secchi disk with you during your entire dive, but save yourself the hassle and use a pocket size Secchi.
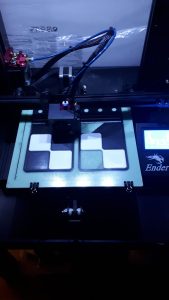
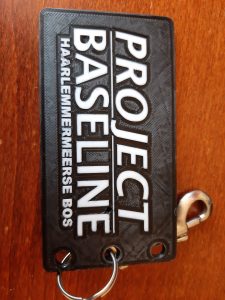
With 3D Printing possibilities are endless. Dedicated team member Bart, challenged himself, printing a plate with our logo Project name on it.
Earlier editions were made of high end plastic used for cladding on buildings. It has a black core with a white veneer. Milling away the white veneer created a very durable black and white Secchi plate.
For:
– horizontal visibility measurements you can use both a Secchi disk or a pocket size model.
– vertical measurements, a Secchi disk is the only option.
Secchi disks vary depending on marine or fresh water environments.
– Fresh water: a 20 cm diameter black & white quadrants OR a white disk with six holes in it are standard.
– Marine : a 30 cm all white mat finish disk is standard. See http://www.secchidisk.org

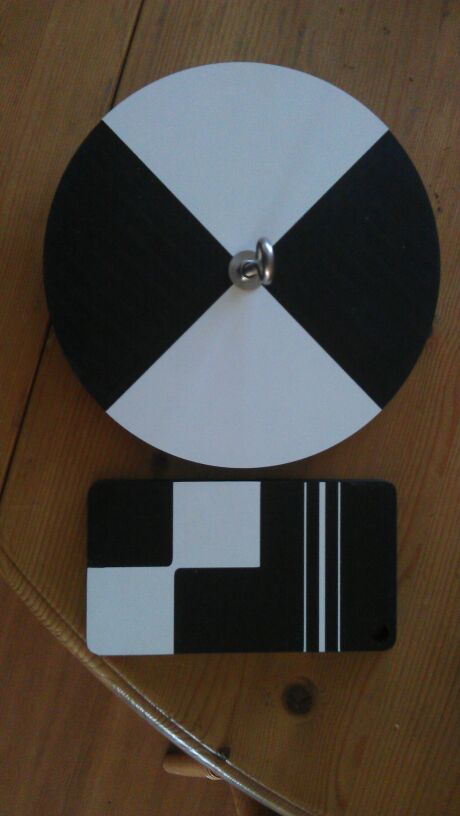
Explanation of the pocket size plate with Secchi and 3 lines (Dutchi)
On the model you also see three thin lines. Back in de the day, visibility had two perceptions.
Dutchi was especially designed by Ivar Klerks for waters with very poor visibility.
Dutchi gives a more realistic values as to the divers perception of visibility. The thin lines are harder to see for people with slightly impaired vision though, so it’s very suitable for visibility upto about 7 mtr.
Secchi provides more consistant readings regardless. It can easily be used upto 15 meters and maybe more.
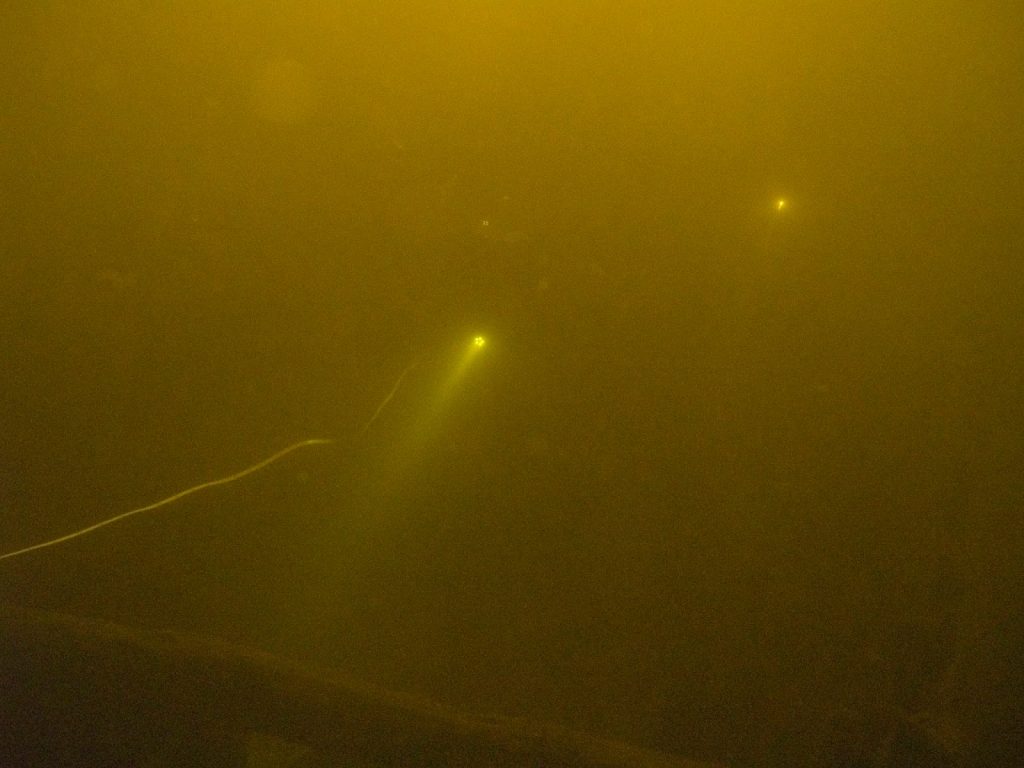
In the photos below, you can clearly see the difference between Dutchi visibility on the left where the diver is still visible and Secchi on the right where only the divers light is visible.


Dutchi meter with three lines.
Should you use dive light?
You can use it, but in turbid water or milky water, the light scatters like a head beam of your car in a dense fog and visibility gets worse.
You can simply find out what the differences are yourself. You can even do a visibility reading at night time.
Video of such a measurement.
Reading of the Dutchi:
Shine with a 18w HID or equivalent lightsource on the plate. Until the two thin white lines disappear and the thicker white line is still visible = visibility.
Reading of Secchi:
Normally with daylight, but you can also use your divelamp for horizontal measurements.
Roll out your line until it disappears. Start reeling in, untill you can just see the first glimps of the disc. I always have my dive mask on for vertical measurements and make sure you have the sun behind you. It works the same as a horizontal measurement.
You can DOWNLOAD paper versions of a full scale Secchidisk and the easier to carry combi-meter (Dutchi and Secchi), which you can laminate and take it with you underwater.
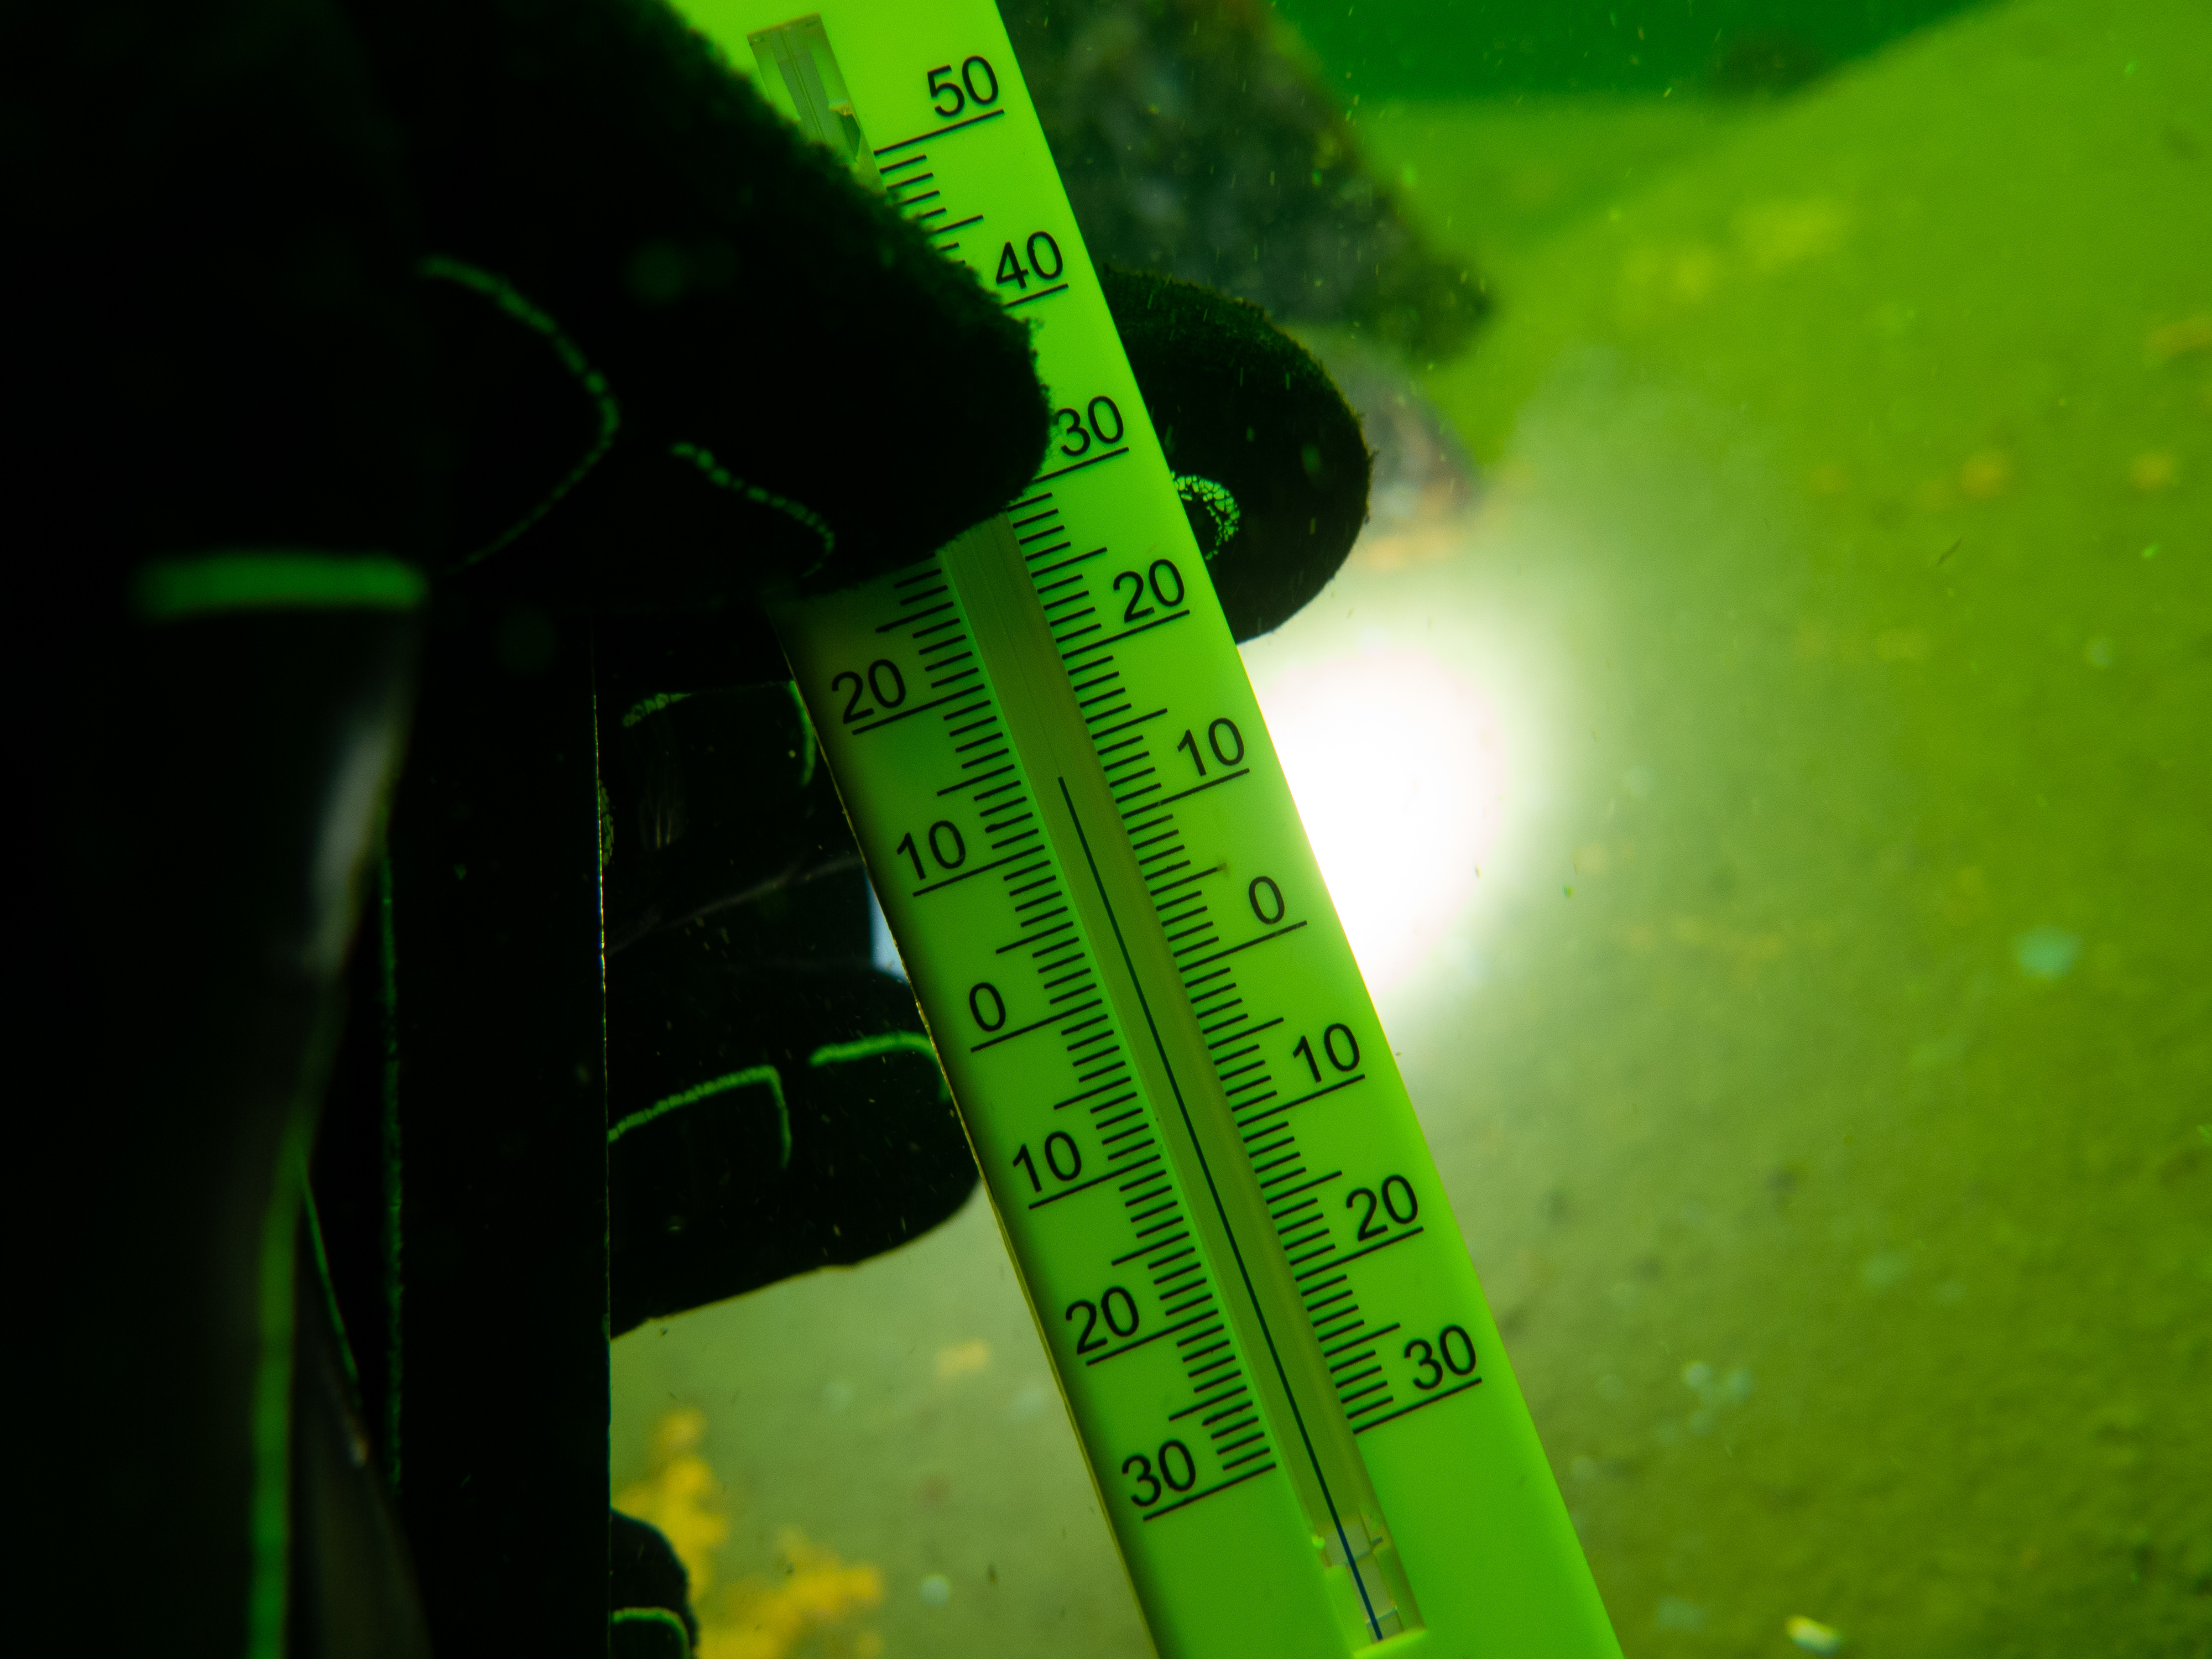
Depth and Temperature
Dive computers or dive timers register depth and temperature, but beware that the temperature sampling time of a dive computer, usually is about every 20 seconds. This means you can spend a minute or more waiting for a proper temperature measurement. Also the sensor is mostly right on your arm, preventing water to pass by the sensor quickly.
There is a faster and easier way!
I recommend using an ordinary garden alcohol (no mercury) thermometer. You only have to check the deviation with a calibrated thermometer.
The alcohol thermometer:
– Withstands depths upto 30 meters (100 ft)
– Fast readout.
– Easy to put away in your pocket or on your harness.
Pictures and their importance.
Aside from taking pictures of a fixed point / station, which are key in Project Baseline to show changes through time, just take random pictures of underwater features, plants, animals and insignificant looking areas on the bottom.
Things you haven’t noticed during a dive, can be found in photo and film material, even months or years later. More detailed photo’s can always be used for analyzing.
You will discover things, you hadn’t noticed during diving, because you simply can’t see and memorize everything. It’s good for braintraining though.
Check out the image below.
Spot the freshwater snale Planorbis planorbis and the fish leach Piscicola geometra
